So, I’ve written a bunch before on here about this red-and-clear double-layered-plastic that I use all the time called rubylith… and I’ve written a little bit about getting to teach Noel (below) and Priscilla how to use it, and about past classes I’ve taught at the New Orleans Community Printshop and at my house.
Now I’m bringing the whole weird set of rubylith & transparent color screenprinting skills that I’ve developed over the past bunch of years to a class at the AS220 Printshop here in Providence.
Image may be NSFW.
Clik here to view.
So… are you interested in learning how to cut clean-line rubylith stencils and set up multi-layer transparent-color silkscreen prints *without* the aid of a computer? while experimenting with color & rainbow rolls? and spending time getting nerdy with other silkscreen enthusiasts? If so, you should consider taking this class!
It’s on Wednesday evenings, 6-10pm, February 20-March 13 (with one extra evening class session — a printing/experimentation open shop time with the instructor (me!) — to be planned based on students’ schedules). The cost is $150. Details & registration info here.
Image may be NSFW.
Clik here to view.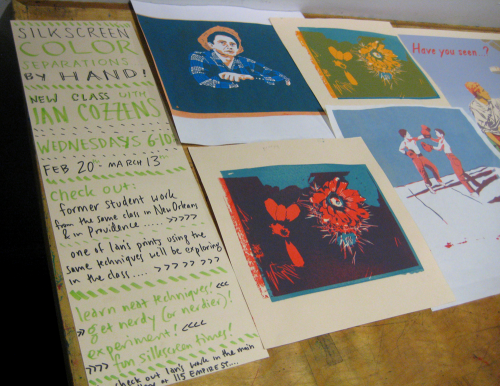
Last night I went by AS220 Industries‘ open house to show some student work from previous rubylith/transparent-color/hand-cut-color-separation classes I’ve taught… and to talk (semi-coherently, I hope — I was tired…) to potential students about what the class will cover.
In the photo above, these (unfinished-state) projects from my earlier classes on the same subject are by (clockwise from top left) Kitty O’Connor, Vanessa Adams, and Jori Ketten… and below is a poster I made that has more than two colors, but uses the same techniques of overlapping transparent colors, printed from hand-cut rubylith layers, with no “key” (or outline) layer, to create an image.
Image may be NSFW.
Clik here to view.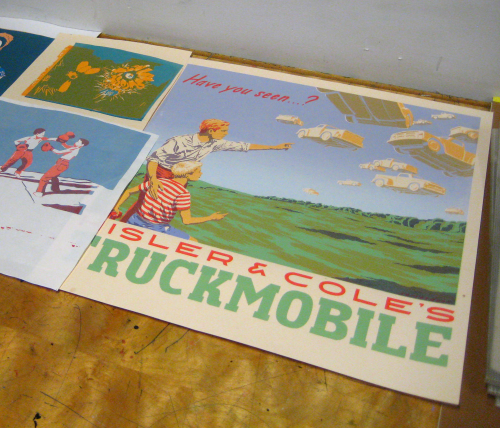
from the class description (that I wrote in a very excitable state, late at night, a couple months ago):
What will students learn & get out of this class?
Students will learn a bunch of different advanced silkscreen techniques and methods: precision alignment, rainbow rolls, using transparent ink colors, complicated hand-cut stencils, careful ink management & printing techniques (including the “plastic mountain”!). They’ll try out a strategy for thinking about color separations & color graphics that will hopefully apply to various different artistic pursuits. We’ll also get to experiment with colors, inks, & printing in a low-pressure way — allowing ourselves to not have an end goal but to see what looks interesting & to try new things that might look weird. Oh, and each student will also make a good-looking finished print of their own, and we’ll do some kind of print trade at the end so we all get a copy of everybody’s print…
Image may be NSFW.
Clik here to view.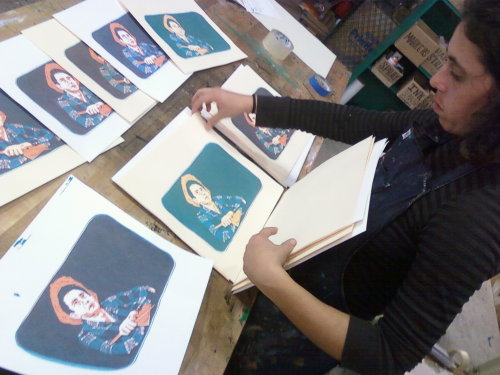
[Kitty O'Connor looks at different color versions of her print, at the end of the class in New Orleans]
Image may be NSFW.
Clik here to view.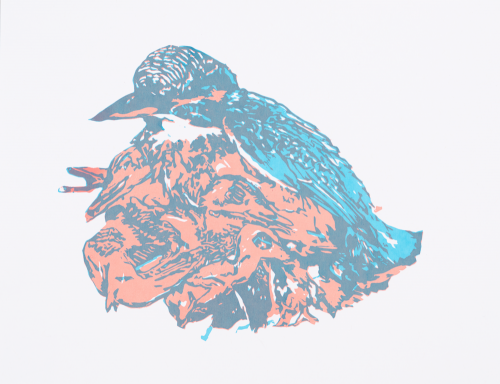
[two-layer print by Rachel Speck]
Each class participant will be making a two-layer print based on a photographic image — we’ll be keeping it *relatively* simple for the print we make in the class, so everybody has time to figure out rubylith, and to experiment with colors and inks — but the concepts & techniques will be applicable to further projects. Vanessa Adams, who took this class with me in New Orleans, put the techniques immediately to work, making the poster that this image is a detail from right after the class was over:
Image may be NSFW.
Clik here to view.
One of the most exciting things for me about teaching screenprinting is seeing how people use what they have learned in the next things they make…
What is the benefit of hand-cutting stencils for silkscreening?
One of my teachers, David Gersten, when asked why he doesn’t use a computer to make drawings, because “it would be faster and save you time”, responds, “Why would I want to spend less time thinking?” Any process that is done by hand, engaging with the physical, material world rather than the immateriality of a screen, offers a chance for our thinking, made manifest in our hands and bodies, to interact with the world around us… and the energy (conflict, friction, complexity, resolution!) of that interaction is always evident in the resulting work.
Image may be NSFW.
Clik here to view.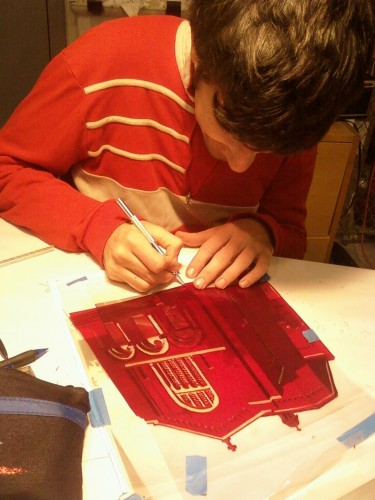
[Will Bowling working on the rubylith transparencies for his print of his church, below]
Cutting rubylith stencils is drawing with a knife — and instead of your line having a thickness, you are actually cutting a perfect Euclidean geometric line — it has no existence of its own, it just exists as the division of two things.* Then through screenprinting, that line gets filtered through another material interaction and becomes the division between ink and paper, ink & the ink below it, ink & the other layers of light & ink passing through & reflecting off the ink & the paper. Okay?! Also they’re beautiful.
Hand-cut stencils aren’t right for every scenario, but they’re perfect for situations where you want a sharp edge on your graphics and a clean division between colors, and where you want to cover large areas with solid expanses of ink, and where you want to simplify and stylize complicated forms into graphic shapes.
*credit goes to Jacob Berendes for this astute observation!
Some more student work:
Image may be NSFW.
Clik here to view.
[two-layer print by Emmy Bright]
Image may be NSFW.
Clik here to view.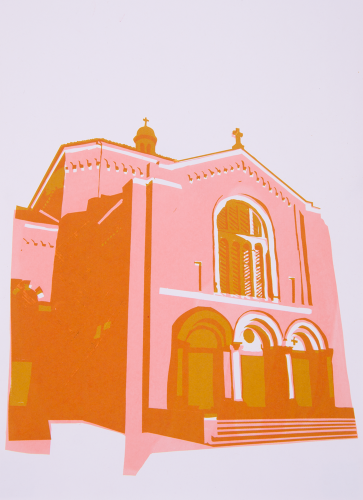
[two-layer print, unfinished state, by Will Bowling]
Image may be NSFW.
Clik here to view.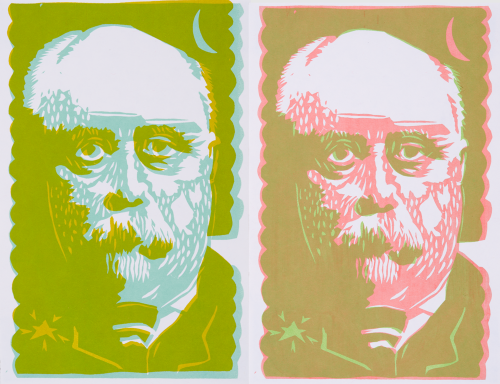
[different color versions of a two-layer print by Walker Mettling]
What are some of the results and rewards for experimenting with color?
Oh geez, how to answer this question? What are the rewards for experimenting with anything? You see things you wouldn’t have thought of doing if you hadn’t tried them, you get new ideas for things to try next, and you maybe find the perfect weird color combination for your project. Or you just get to play around in unfamiliar territory. We’ll be sharing ink colors and color combinations with each other, so we’ll be challenging each other to use colors we wouldn’t ordinarily use! Often with screenprinting, we are content to stick with what we know or with “poster colors” straight out of the jar from the store — this class will just be pushing a little ways out of that territory, hopefully to everyone’s satisfaction.
Image may be NSFW.
Clik here to view.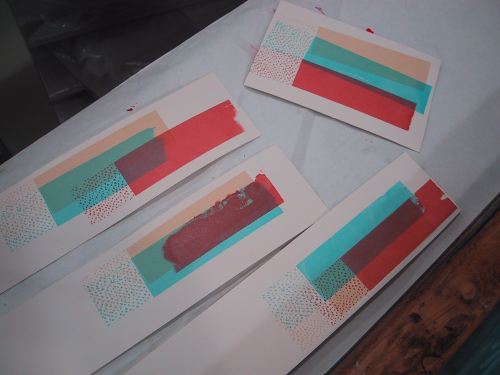
[transparent color overlay test strips by Li Pallas]
Image may be NSFW.
Clik here to view.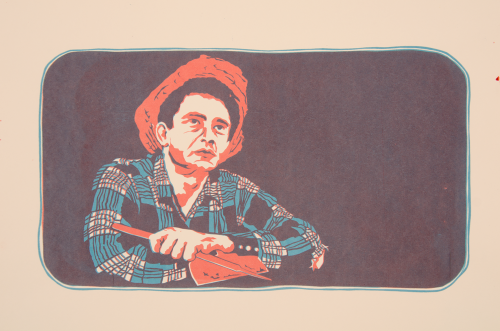
[two-layer print by Kitty O'Connor]
Image may be NSFW.
Clik here to view.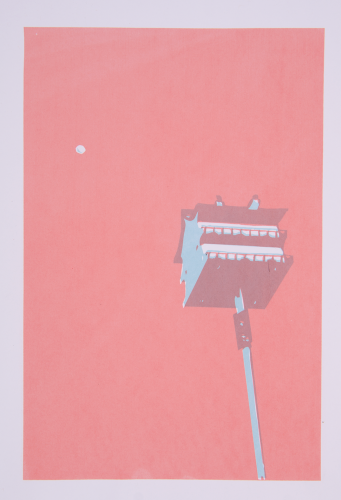
[two-layer print by Hannah Jegart]
If you’re intrigued, here’s the extended class description, and here’s some very specific details and how to register!